Windows installation
This section provides instructions for the installation of SciCell++ on a Windows system. We tested these instructions on Windows 10 but we (hopefully) expect them to work on recent versions too. Once finished this section you should continue with the Starting SciCell++ on Windows document.
Overview
Enable virtualisation on Windows
The following instructions are based on this YouTube video and the official webpage for WSL2 installation for Windows 10.
Look for
bioson the windows search tool and select theChange advanced startup optionsoption.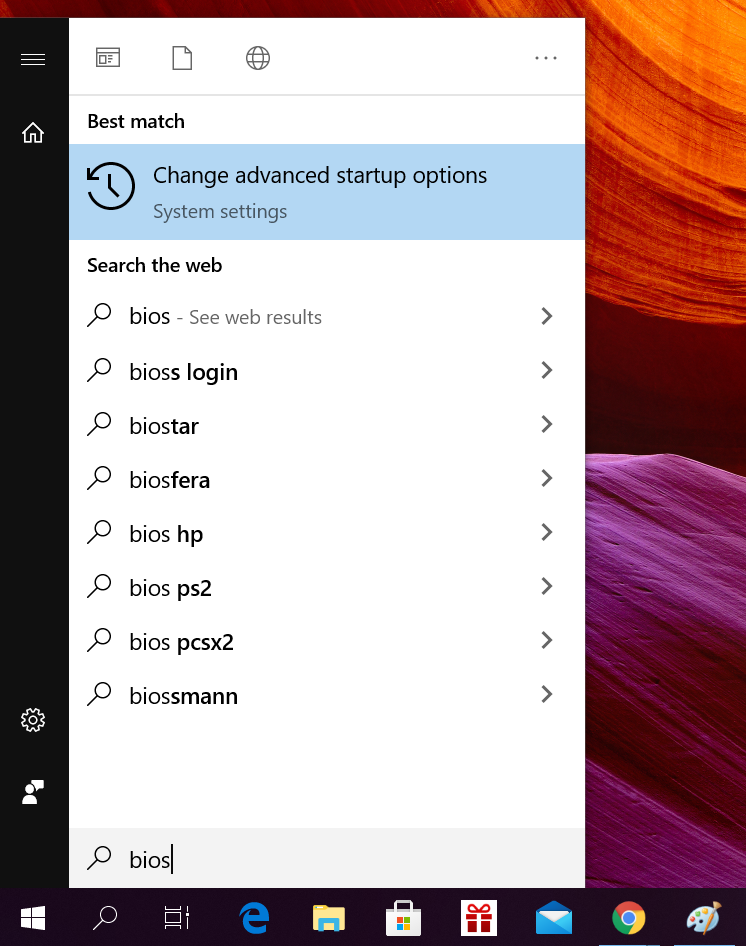
On the Advanced startup section click on the
Restart nowbutton.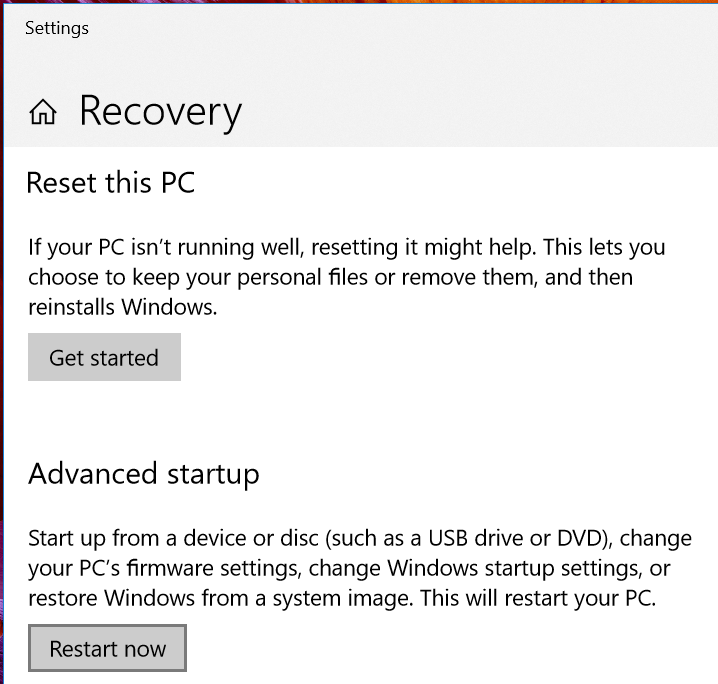
Click on
Troubleshoot, then onAdvanced options, followed byUEFI Firmware Settingsand finally click on theRestartbutton.Once your computer has launched you may see a screen similar to the one below (the specific screen depends on your vendor’s machine). Look for an
Advanced Menuand make sure thatVirtualization Technologiesare enabled. Save your changes and restart your computer. You may have a similar option if you are using a different processor brand.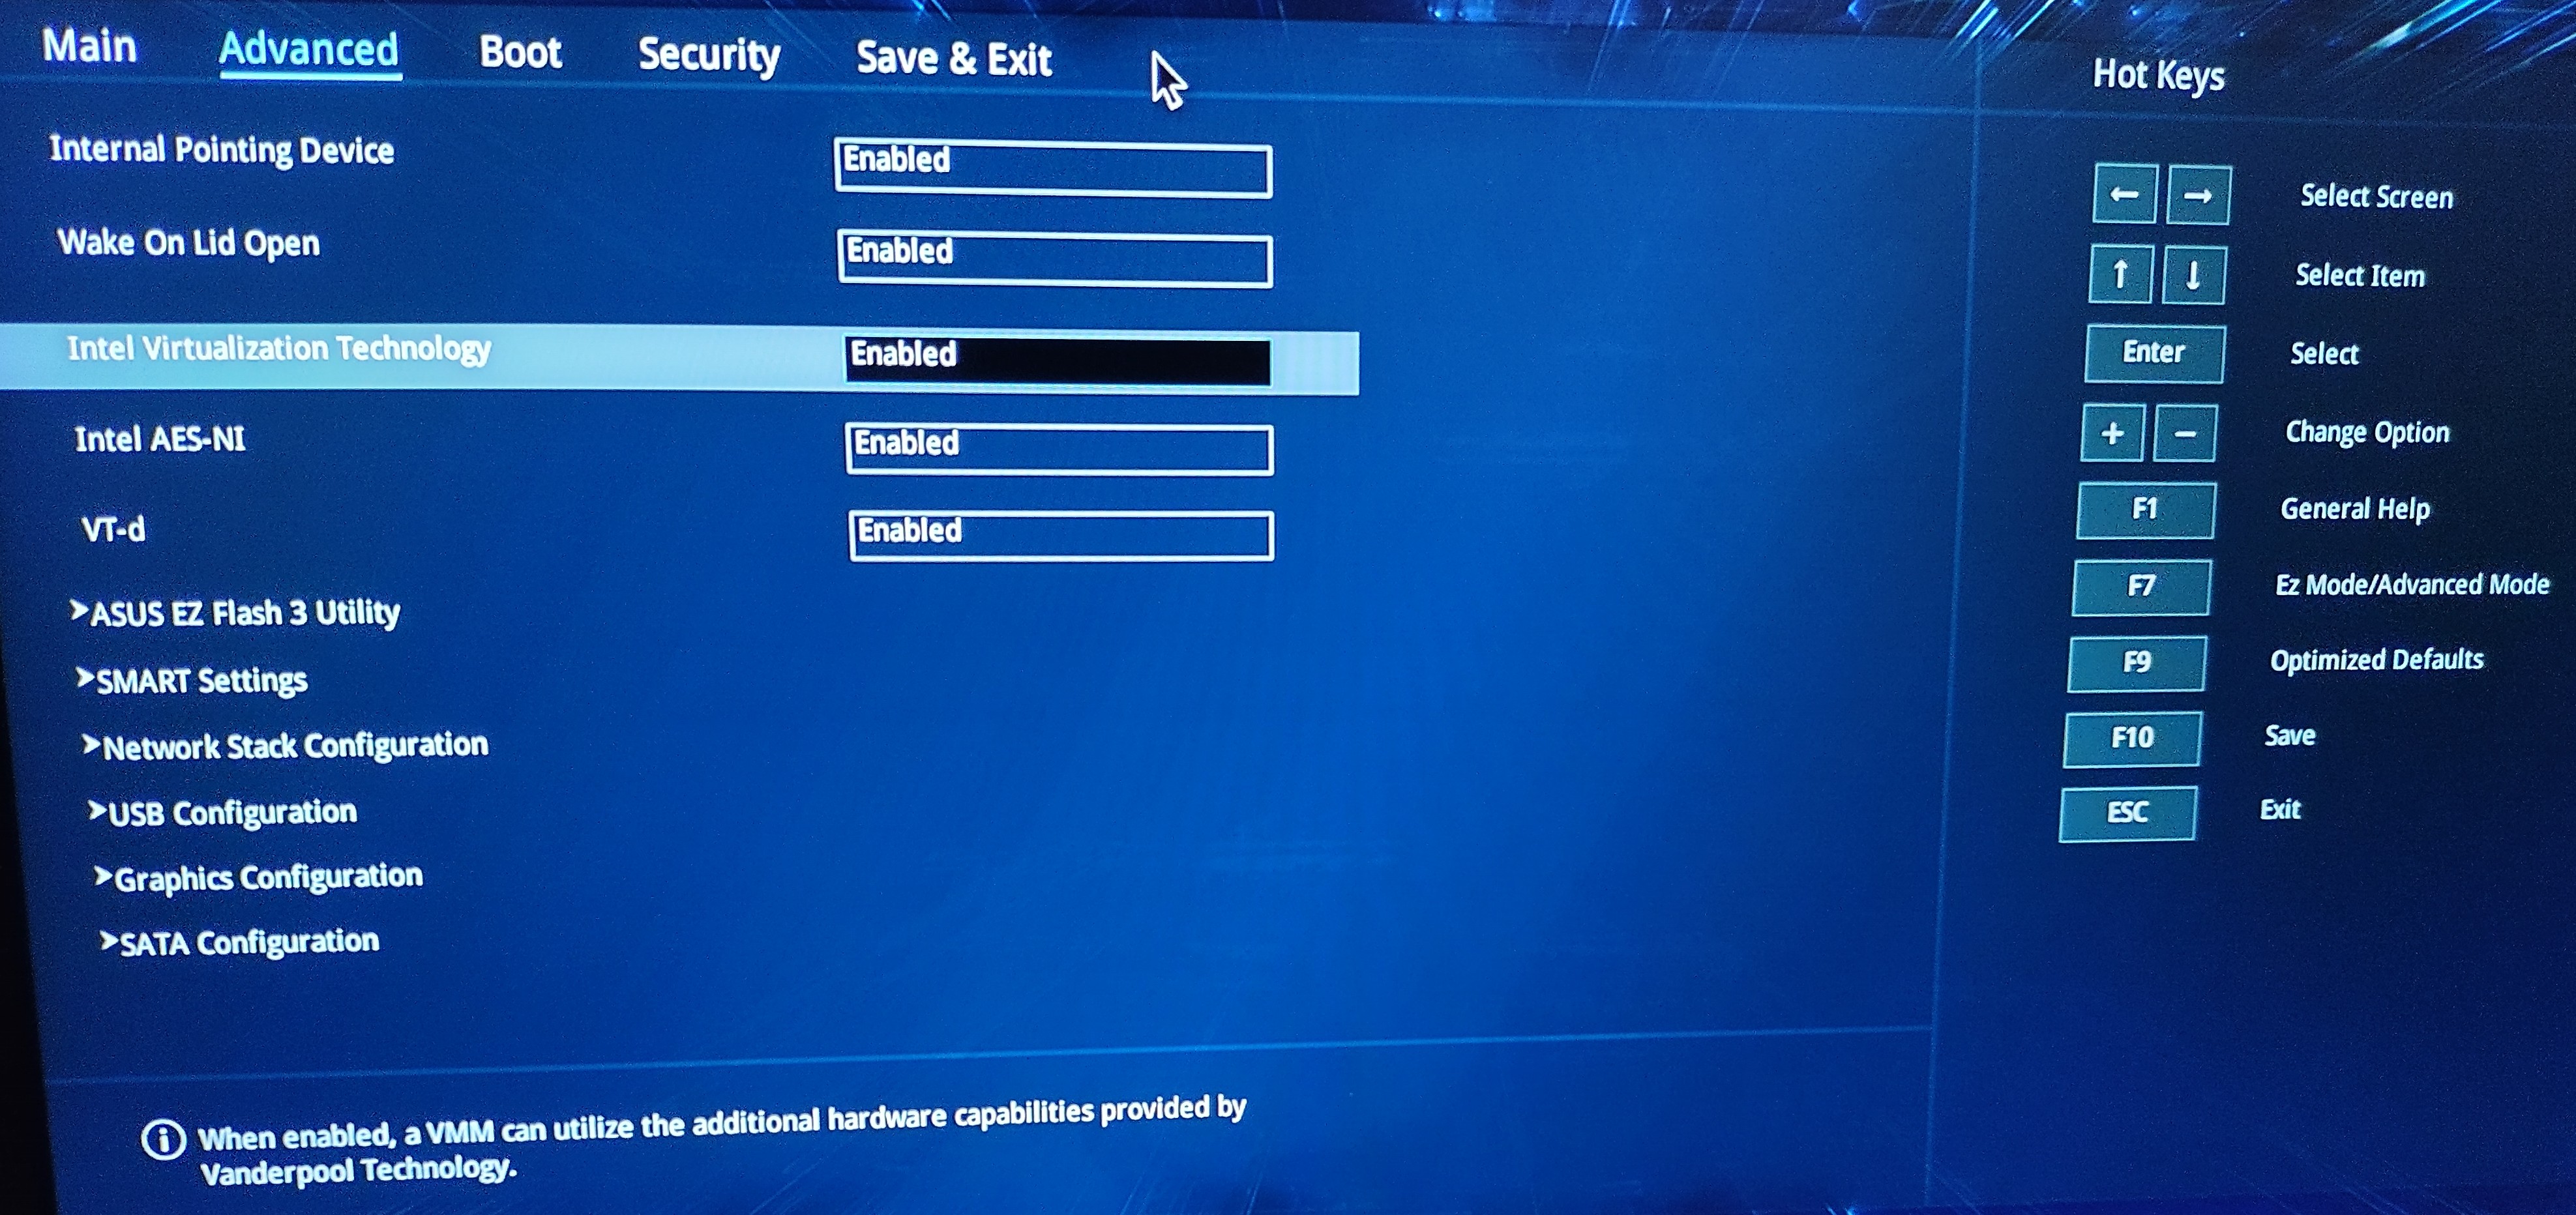
Once your computer has restarted look for
powershellon the search bar, right-click on theWindows PowerShelloption and selectRun as administrator.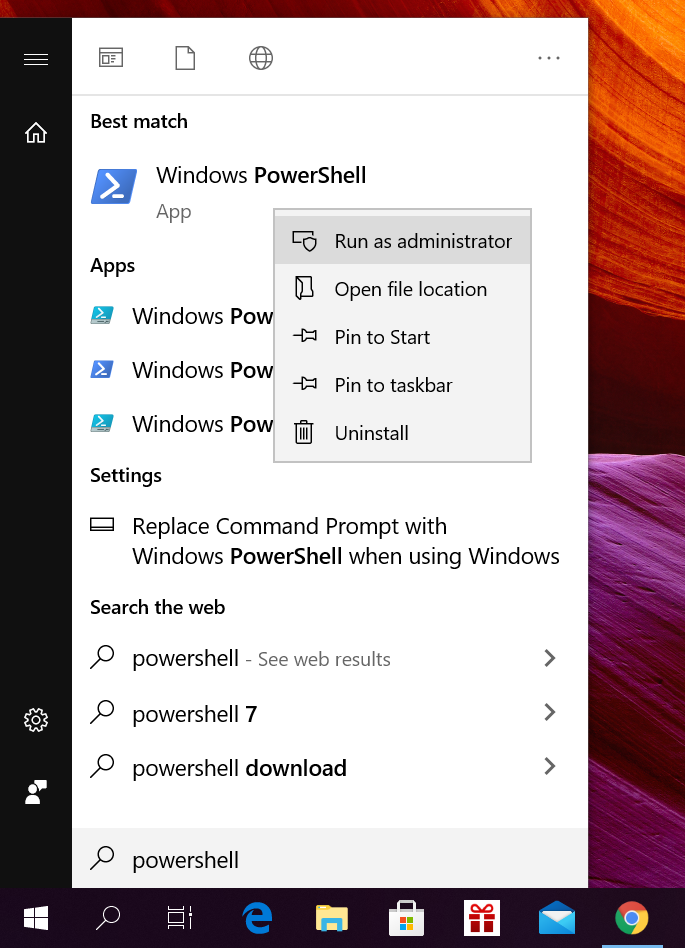
On the command line type (or copy-paste) the following and wait for completion.
dism.exe /online /enable-feature /featurename:Microsoft-Windows-Subsystem-Linux /all /norestart
Check your Windows version by typing the
winvercommand in theRundialog, pressWindows Key+Rto open theRundialog.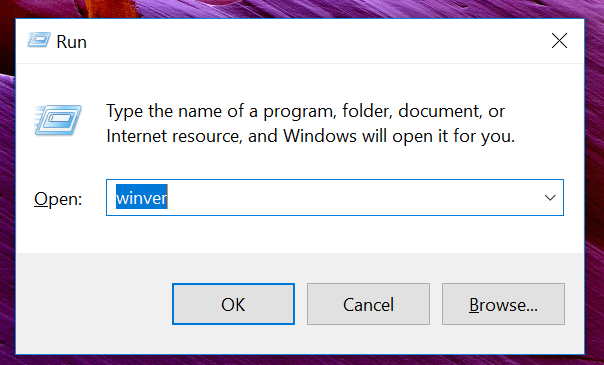
In the
About Windowsdialog check you fullfill the following requirements (as indicated in Step 2 on this webpage):For x64 systems: Version 1903 or higher, with Build 18362 or higher.
For ARM64 systems: Version 2004 or higher, with Build 19041 or higher.
Once again open a
Windows PowerShellwith administrative rights, type (or copy-paste) the following and wait for completion.dism.exe /online /enable-feature /featurename:VirtualMachinePlatform /all /norestart
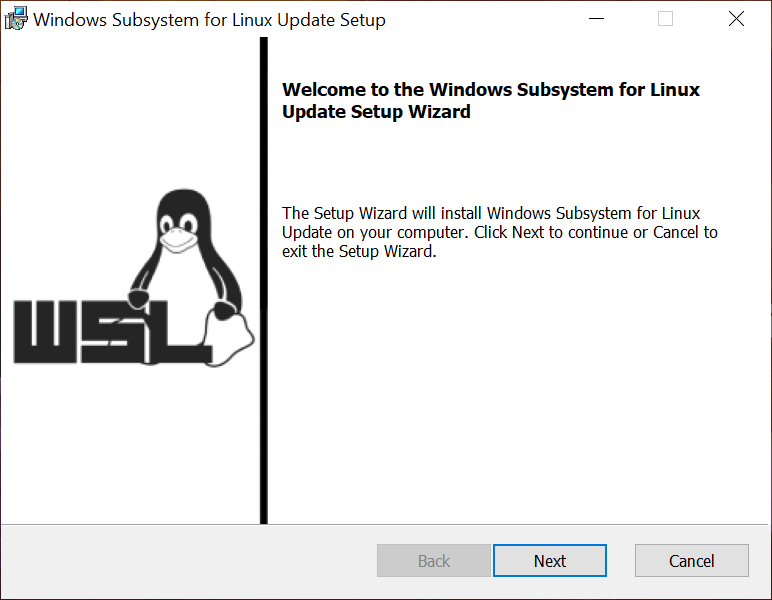
Download and install the
WSL2 Linux kernel update package for
x64 machines
as indicated on Step 4 on this page
Once more open a
Windows PowerShellwith administrative rights, type (or copy-paste) the following and wait for completion.
wsl --set-default-version 2
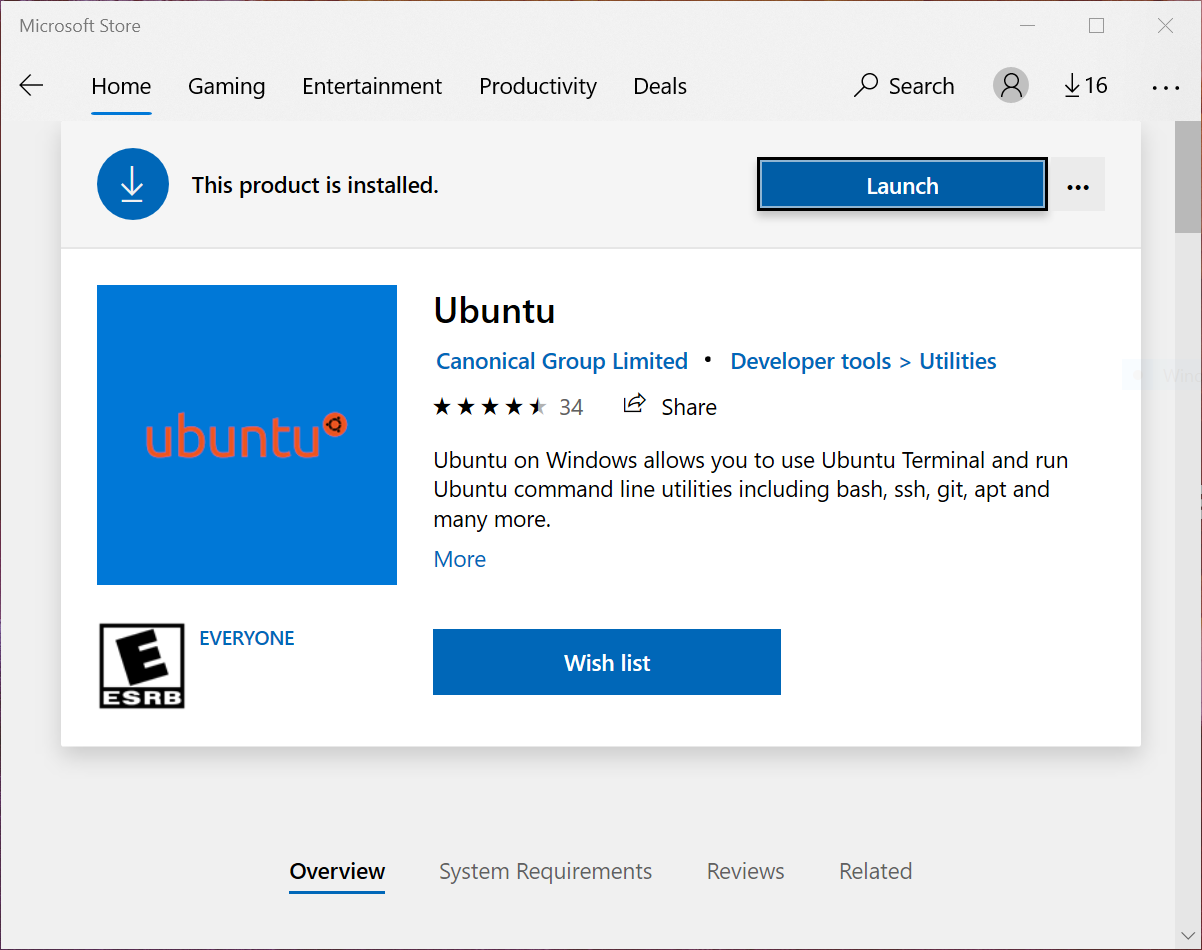
Install a Linux distribution as indicated on Step 6 on this page. We recommend to install the latest Ubuntu available distribution (20.04 LTS or 18.04 LTS). Do not forget to launch and set a password for your newly installed linux distribution.
Install Docker Desktop
Download Docker Desktop for windows (at the writing of this document lastest version was 3.5.2).
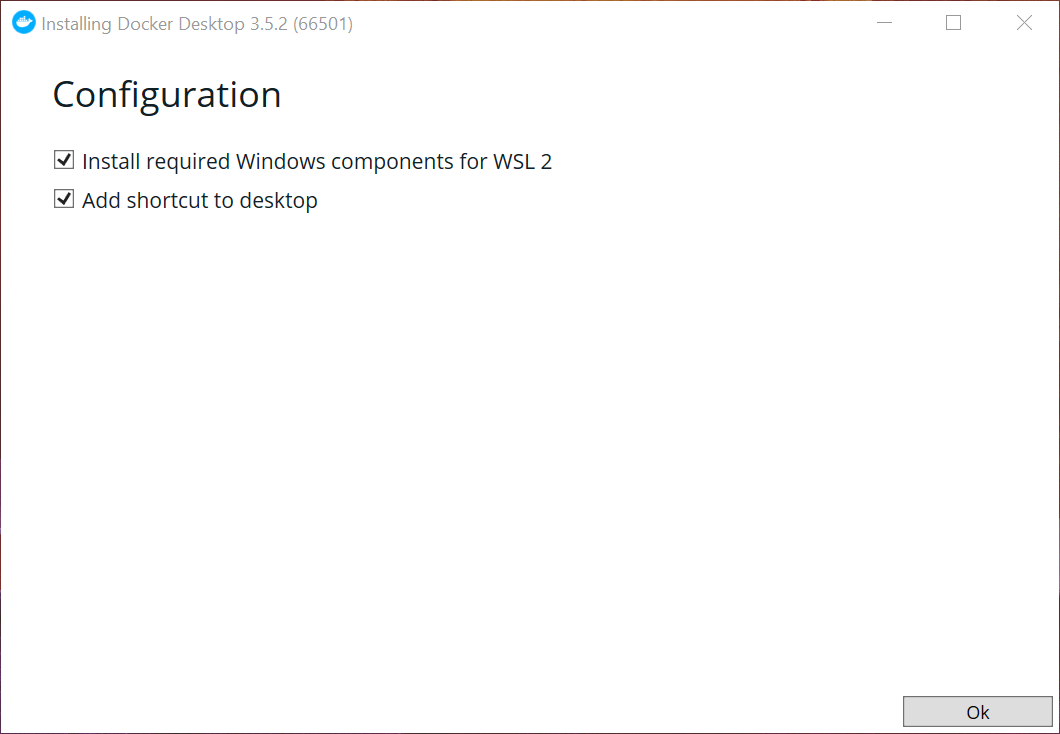
Install Docker Desktop with the default options.
Once the installation process finish you need to restart your computer. Click on the
Close and restartbutton.(Optional) Open docker, go to
Settings>Generaland make sure theUse the WSL2 based enginecheck box is ticked.
Install GitHub Desktop
Download GitHub Desktop (you will need lo sign up on GitHub).
Install GitHub Desktop and select the
Sign in to GitHub.comoption.In the browser use your GitHub credentials to login. If prompted, select the
open on GitHub desktopoption.On the
Configure Gitdialog select theUse my GitHub account name and email addressoption and click onFinish.Select the
Clone a repository from the Internet...option.Look for the
scicellxxrepository and select it. Use the default location to clone the repository or choose one in your local drive (make sure to remember this location since you will need it to use SciCell++).Click on the
Clonebutton and wait for completion.Create a new branch on the Github Desktop application. Go to the menu
Branchand selectNew branch.... This will open a dialog where you specify the new branch name, use your name in lowercase as the branch name. For example john_cool.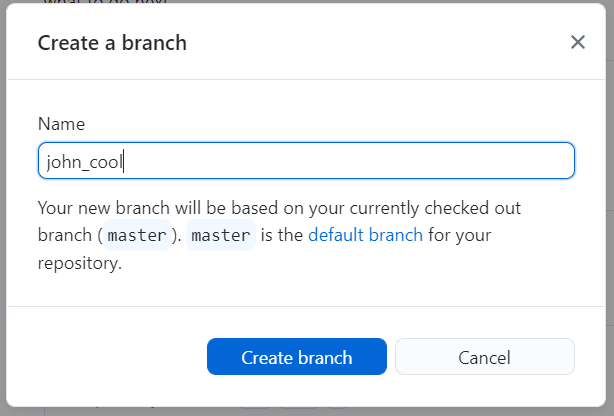
Note
Whenever you start to work with SciCell++ you should ensure that you are working on your own branch. In case you are on a different branch you can switch to your branch (or any other) by selecting it on the popup menu (current branch).
Note
Any commits to SciCell++ must be done to your own branch, so make sure the
Commit to ..button spells your branch name.
Troubleshooting
My Windows version is lower than the recommended one to install WLS
Note
Remember that you require Windows 10 or a higher version.
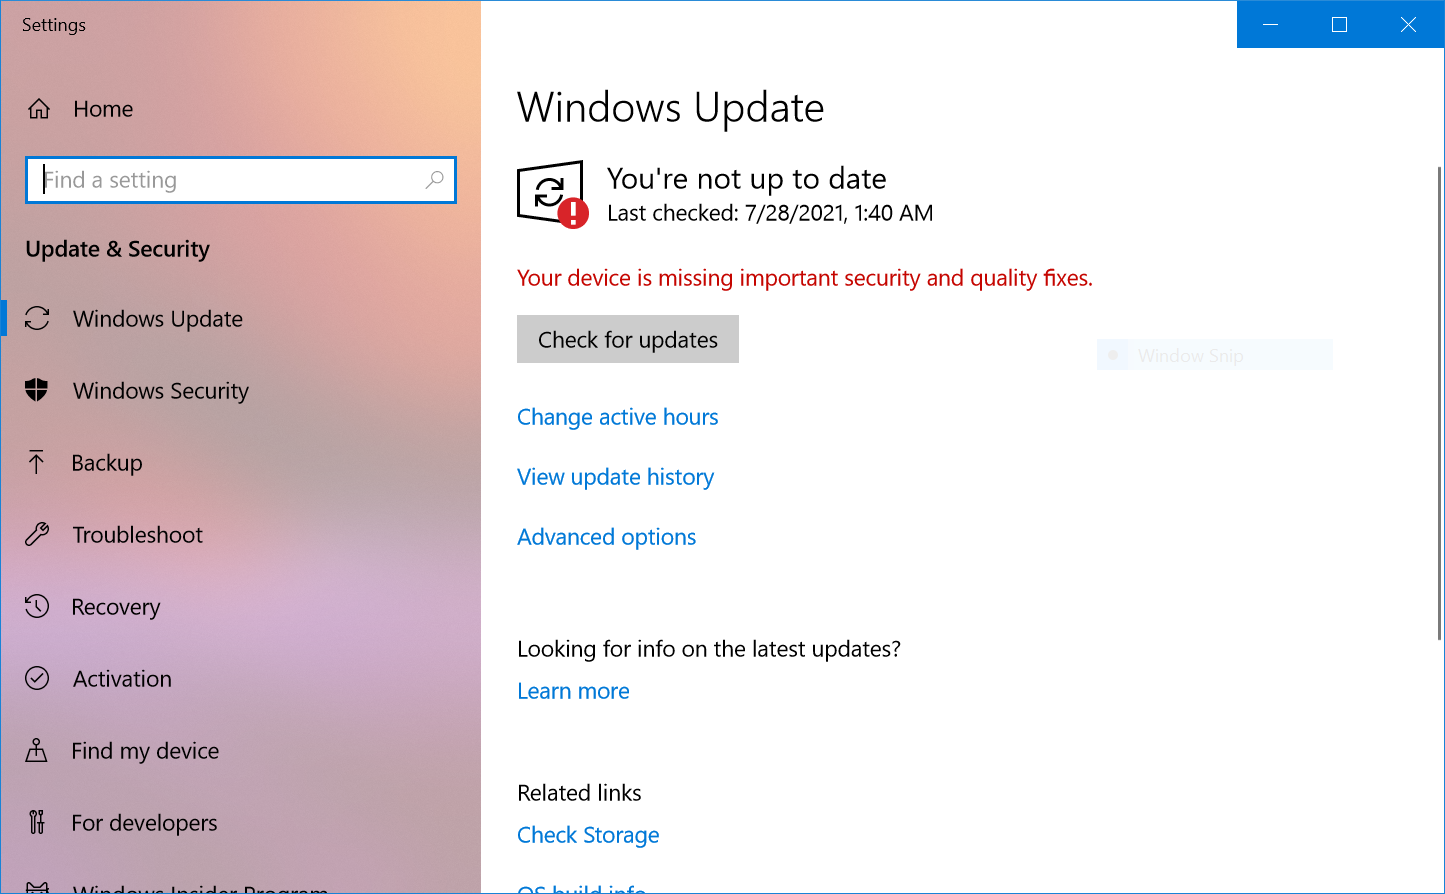
You may update your system to the required version (or even higher)
with help of the Windows Update settings tool.
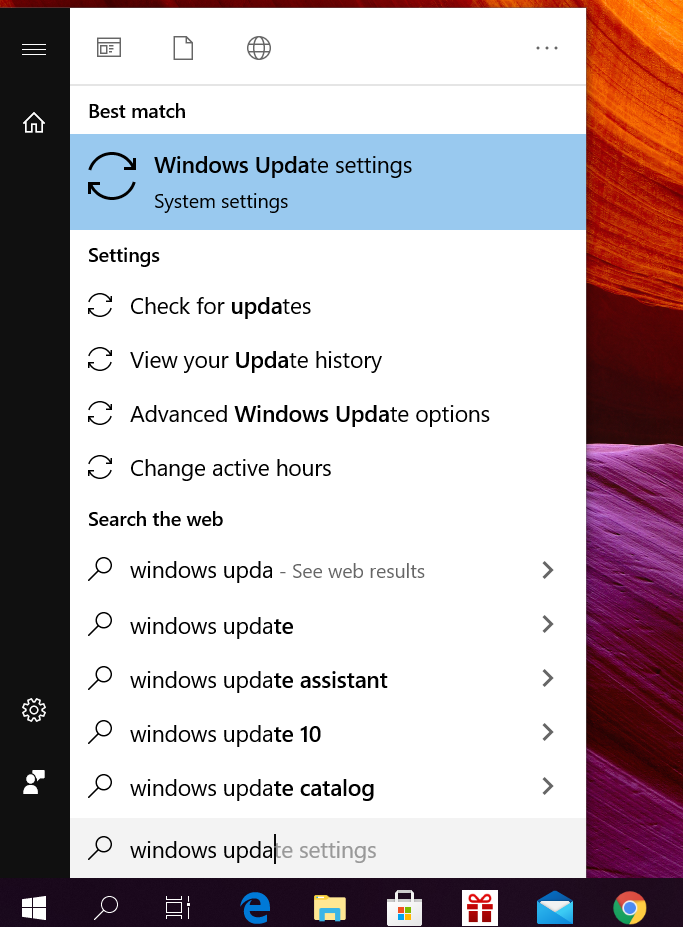
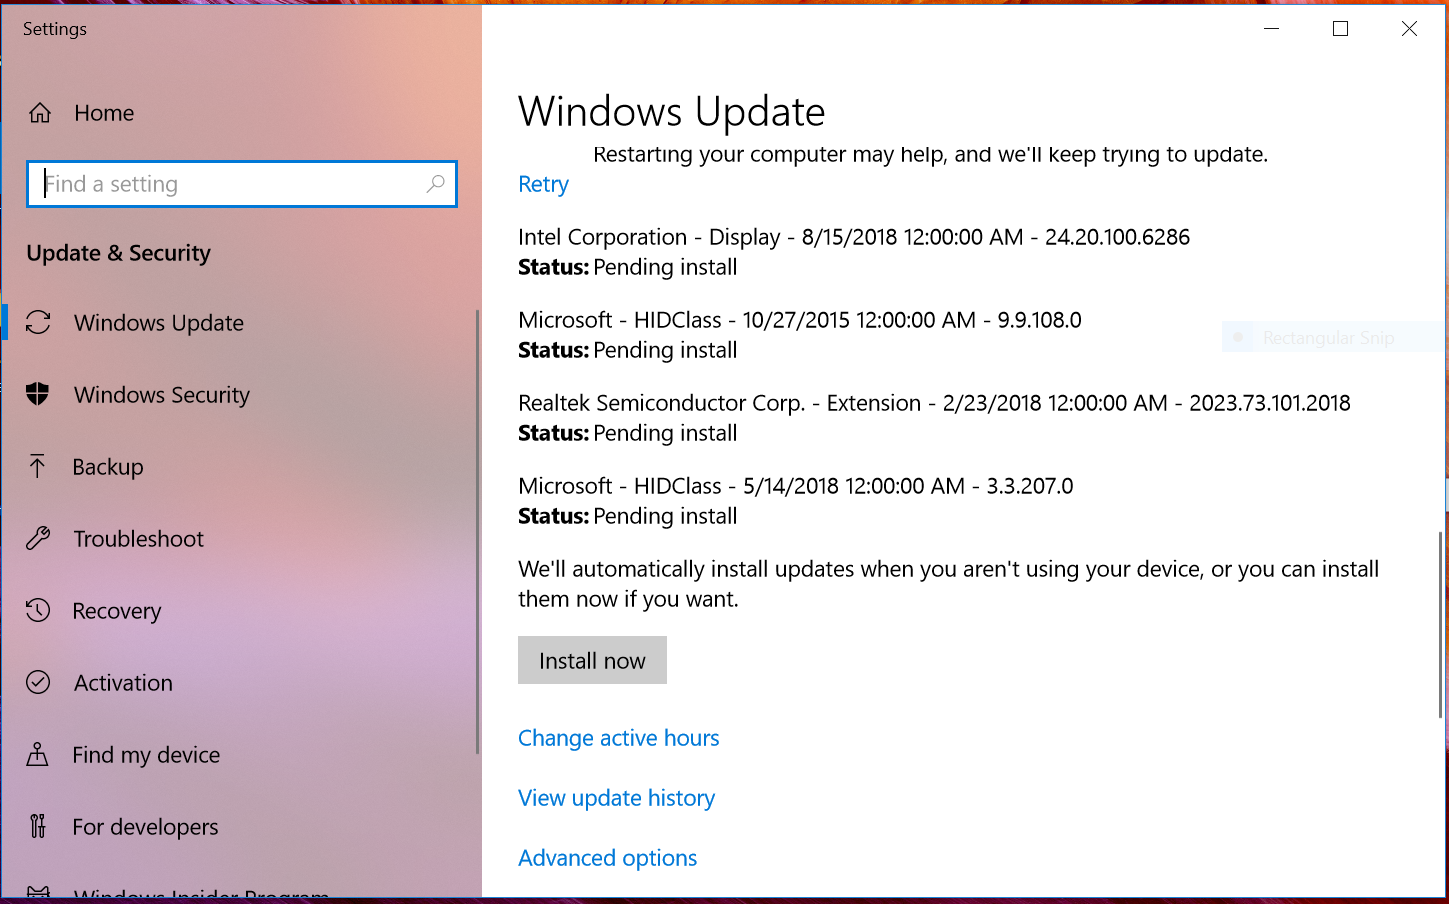
Within that tool check whether you have pending updates or previous
not installed updates, to do so, click on the Install now button
or on the Check for updates button, respectively.